Monthly Archives: September 2019

Using PDF markup in New Moodle for Grading Assignments

Moodle has had the option of providing markup capabilities for PDFs for quite a while.  In our previous version of Moodle, I often suggested that people not bother because that tool for providing feedback was clunky at best.  With the new upgrade, this tool has become a bit more robust and user-friendly.  

When creating a new Assignment in Moodle (using the Assignment tool) one of the options in the Feedback Types section is Annotate PDF. 

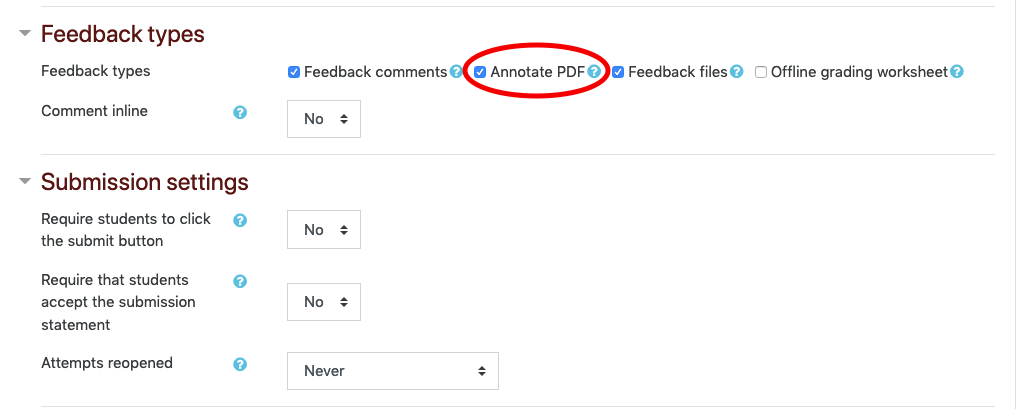
When this option is selected, the grading screen will open up the submitted PDF within the Moodle environment itself. The caveat here is that students MUST submit their assignment in PDF form for this option to work (otherwise all you will see as an instructor is a large blank white area on the grading screen).

If the student did not submit an assignment OR if the student submitted the assignment in a file type that is NOT a PDF, then the left hand portion of the screen will be blank.

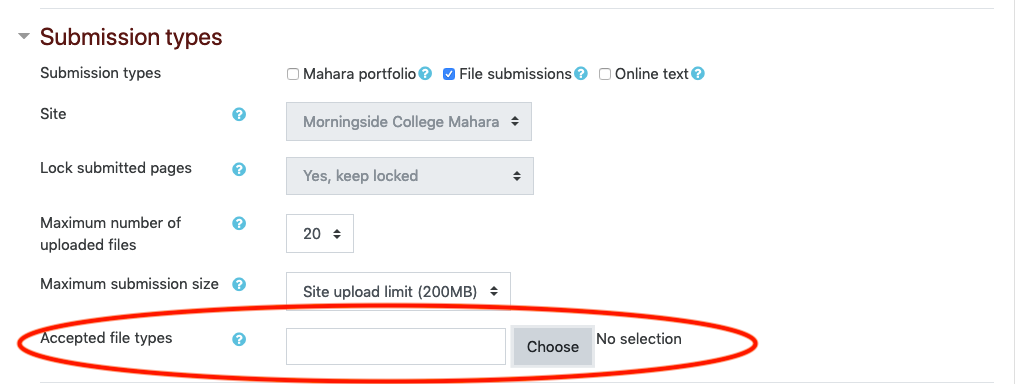
If you wish to use the Annotate PDF option, you can require students to submit a particular file type by going to the Submission Types section and identifying the Accepted File Types.  You may need to instruct your students on how to create a PDF from their primary word processing tool.

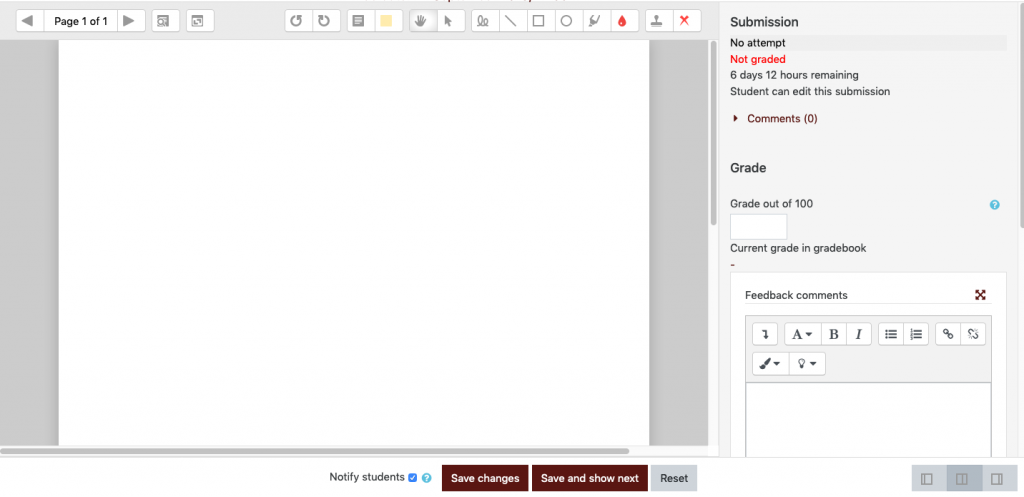
When a student has submitted your assignment and you go into the grading window, this is how the screen will show:

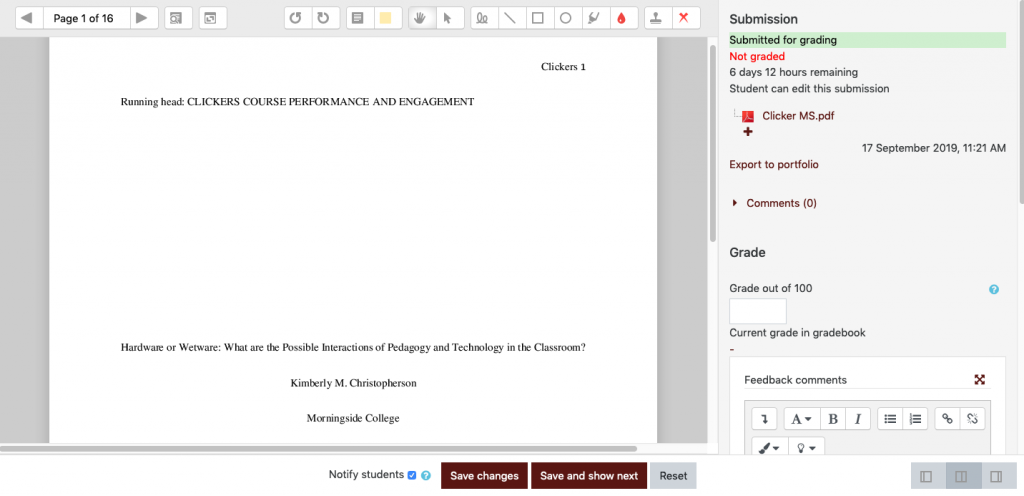
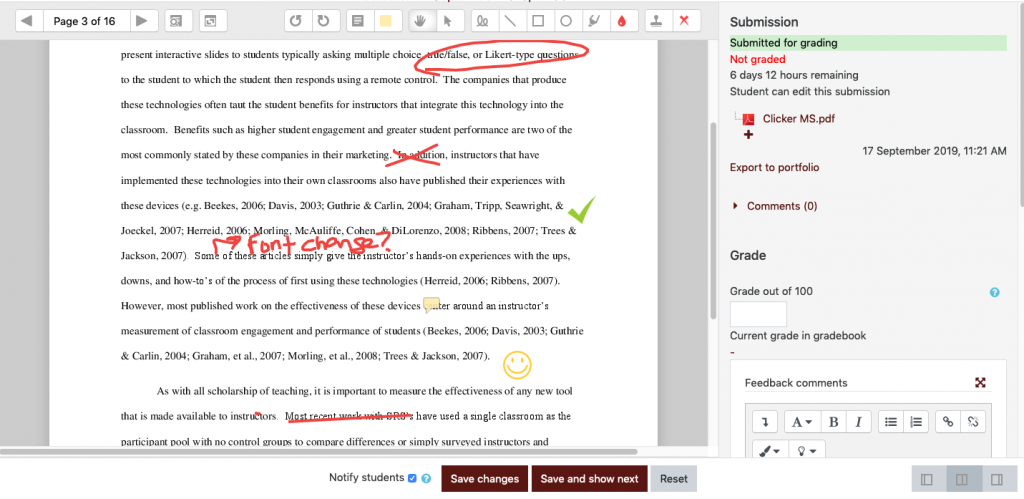
You’ll see that some common PDF markup options are available at the top menu sections here including comments, highlighting, lines, shapes, and the ability to freedraw (write).  Unfortunately the strikethrough and strikethrough with comment options are not available on this type of PDF annotator.  

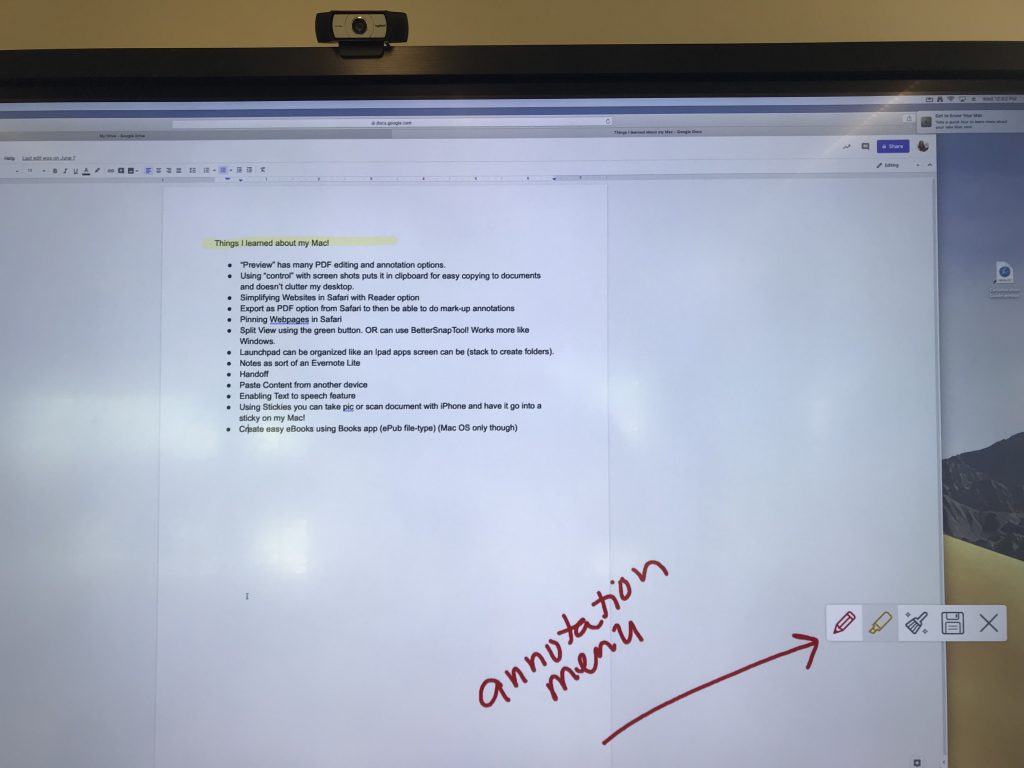
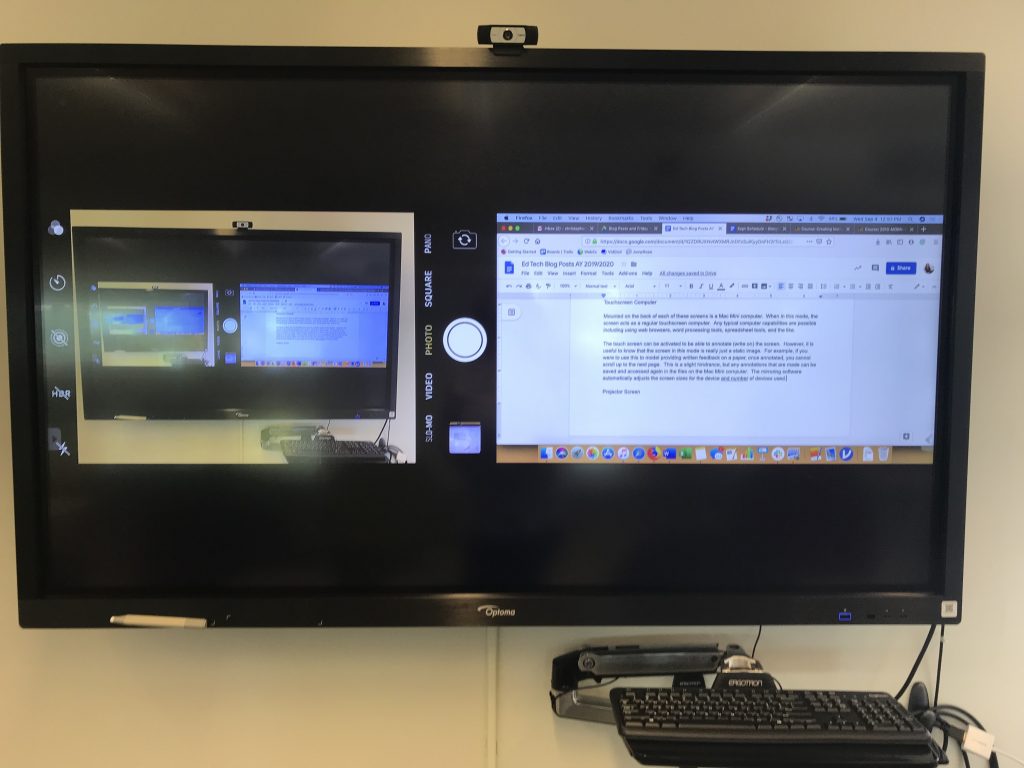
One nice thing about this feedback option is that you can use handwriting if you grade on a device with a touchscreen and stylus (such as a tablet device).  Opening Moodle through your tablet’s browser (not the Moodle app) will allow you to mark up the PDF with your stylus as if you were making on a paper copy (though it is often a smaller space to put your handwriting).  

I used my iPad and stylus to create the handwritten markings seen here.

In all, the PDF markups are still limited when compared to other PDF annotating programs, but the option does allow for grading and making up within the Moodle environment.  The utility of this feedback option may be a bit limited, but there may be cases where this is a useful tool for faculty.

New Technology in HJF Library

Most people who are on campus a lot have heard about the major renovations that were done on the third floor of the HJF library over this past summer.  This space was renovated to provide a space for active learning and within this space there are a number of screens that can be used for a number of purposes.  In this blog post I want to give just a brief overview of some of the capabilities of this new technology. For those who are interested in a more direct training, please come to one of the two training sessions that I’ll be holding next week Sept 12th and 13th from 3:45-5:00 up in the Third floor area of the Library.

The screen technology in this space is intended to allow for collaborative work to be done.  In essence, one can think of the screens as having three distinct ‘modes.’

  1. An electronic whiteboard for writing notes, drawing, or other activities where handwriting is useful.
  2. A touchscreen computer where a person standing at the screen can manipulate the screen.  This screen can also be annotated upon (write/draw/highlight).
  3. A screen to project another screen (computer/tablet/phone). These screens can project up to 4 different screens at a time.

I’d like to show just a few images of the technology and share some of the potentially useful features.

Electronic Whiteboard

The electronic whiteboard (called Note), allows for users to use a solid color background OR other images.  Some pre-loaded backgrounds include a lined notebook, music staff, grid paper, sports fields and some basic grids and flow charts.  In addition to these pre-loaded images, users can upload their own image or PDF files.

In terms of writing and sketching capabilities, this Note tool has a variety of pens, brushes and shapes to choose from.  Additional pages can be added and saving what has been created is as easy as scanning a QR code with your mobile device.  

The Whiteboard with a solid black background and some of the shapes that can be created.
Music Staff background (yes, bass clef is available as well).
Grid background
QR code to easily save this work onto your mobile device. This will save ALL pages that were created.

Touchscreen Computer

Mounted on the back of each of these screens is a Mac Mini computer.  When in this mode, the screen acts as a regular touchscreen computer. Any typical computer capabilities are possible including using web browsers, word processing tools, spreadsheet tools, and the like. 

The touch screen can be activated to be able to annotate (write on) the screen.  However, it is useful to know that the screen in this mode is really just a static image.  For example, if you were to use this to model providing written feedback on a paper, once annotated, you cannot scroll up to the next page.  This is a slight hindrance, but any annotations that are made can be saved and accessed again in the files on the Mac Mini computer. The mirroring software automatically adjusts the screen sizes for the device and the number of devices used.

Touchscreen Mac Mini projecting a Google Doc that I have turned on annotations. Basic pencil and highlighting annotations are available.

Projector Screen

When you are in the Mac Mini you can also use the screen to project another screen.  If you have a Mac then you will use your Apple TV tool to project. If you use Windows you will need to use Air Parrot.  Up to four different screens can be projected at the same time. However, the annotation feature possible in the Touchscreen mode is not available when projecting. 

Using the Mac Mini mode as a way to project my computer (right) and iPhone (left) at the same time.

Finally, all of these screens are equipped with video and audio so you can conduct web-conferences using these screens as well.  Some are positioned a bit more strategically for this use, but all have these capabilities.

Again if you want to learn more about how to toggle between these modes and get some hands on experience in using this new technology, please join me for the two training sessions happening Sept 12th and 13th.