By Kassidy Hart –
For all you blanket fanatics and DIY-ers – this one is for you.
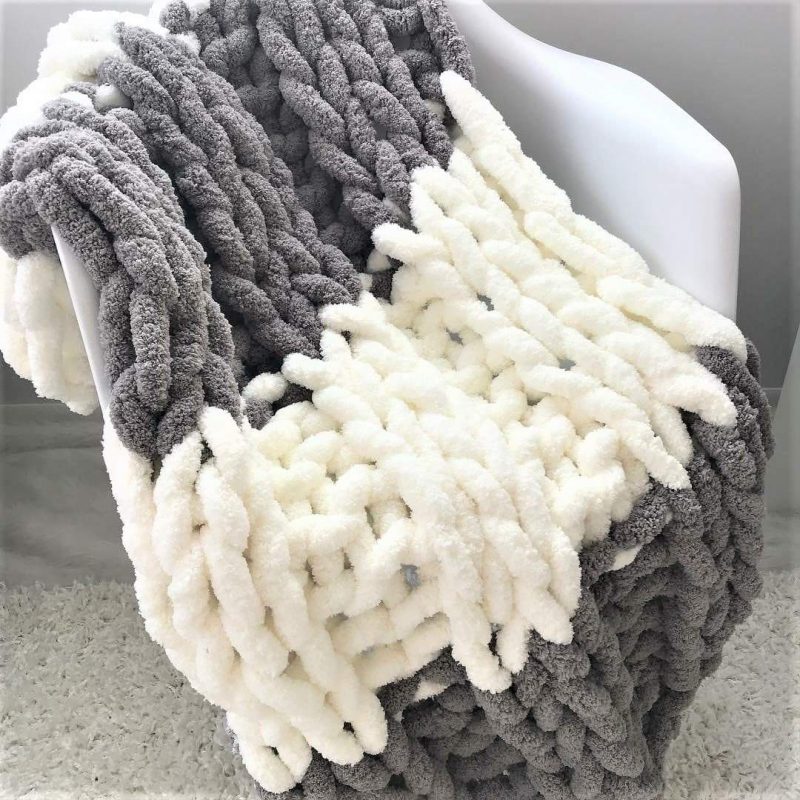
I first heard about this DIY hand crochet blanket on the popular app, Tik Tok. Many social media influencers were buying yarn to test various crochet patterns, and this so happened to be one I saw over and over. When the semester started, my best friend had actually started making one for herself and when I saw it, I mentioned how I should get some yarn and attempt it – though I was scared because I’ve only had experience with basic tie-blankets. As a (very) late birthday present, she made me a light grey one and it has become my favorite blanket to cuddle up with while I watch a movie or do homework on chillier nights.
Fast forward a month or so to when I decided to make one for my boyfriend as a five-year anniversary gift – just a bit larger than the one my friend made me. She used about 7 skeins of yarn and it covered my twin xl bed here at school. For the one I was making, I wanted to make it big enough to cover his queen-size bed back home, which would be more than double the amount of yarn.
To start, I went to Hobby Lobby to purchase the yarn – fifteen 28-yard skeins of dark grey yarn from the brand “Yarn Bee.” It cost me around $100 for the haul. (Now, Hobby Lobby has multiple yarn deals on different days – I’m just impatient and a bit impulsive.)
After that, I got to work on finding full-length YouTube videos of people walking through the crochet process and used a couple to guide me. One of them was by Shannon Andersen titled “DIY Chunky Knit BLANKET!” and another was by She’s Crafty and She Knows It called “How to Hand Knit a Chunky Blanket”. Both of these were useful because they went step-by-step. I will admit, I paused and re-wound all the videos multiple times, especially at the start of the blanket, the second row, and then ending the blanket.
The time it took me to make this blanket was kind of ridiculous. I thought I was doing alright four or five hours in, and then once I got to the end, I realized I missed a whole row on the side. I ended up taking out the whole thing and restarting it. This was not the only time I restarted it, either. At one time, I wanted the loops to be smaller, another point I wanted to loosen the loops more, and I couldn’t decide how to make it not be so skinny. (I had originally been going 20 loops across but ended up widening it to about 50 loops across.) So, it was for sure a process and required multiple nights of laying the blanket out on my dorm floor to try to finish it.
The weekend before I needed it done, I ran out of yarn. I ran to Hobby Lobby only to find out they didn’t have the color I needed, and the worker told me I should check the next day after the truck came. The next day came and though they had more of the yarn, they still didn’t have the color I was looking for. So, I looked online at the shipping time but realized it would be too late. Thankfully, I was going home the next day and could have my mom pick some up from the Hobby Lobby there, then rush to finish it.
Even though I panic finished the blanket, it all felt worth it when I tied my last knot. My boyfriend ended up loving it and agreed that it’s one of the comfiest blankets he has ever had, having no idea the sweat and tears I put into making this gigantic monster of a bedding piece.
The blanket itself is a 10/10 but the DIY process is for sure a time-filler and is guaranteed to frustrate you until you get the hang of it, so for the DIY part I’d give a 6/10. If you can, convince someone to make it for you – if not, you might want to stick to a smaller size and make sure you have some good company while you get crafty with it!


Leave a Reply